Japan eSIM Guide: What Actually Works (And What to Avoid)
Japan eSIM comparison for Canadians: Airalo vs Sakura Mobile vs IIJmio. Actual 2026 costs, coverage ratings, and setup steps for connecting the moment you land.
Quick answer: Get a Japan eSIM before you fly. Airalo and Sakura Mobile both work reliably in urban Japan. Canadian carrier roaming (Rogers, Telus, Bell) costs about $16-20/day — an eSIM costs $5-15 for your entire trip. Physical SIMs still win for rural coverage and voice calls.
Why Your Home Carrier Is a Trap
Let's do the math that your carrier's marketing materials never want you to do.
As of March 2026, here's what Japan international roaming actually costs from major carriers:
- Typical carrier day pass (e.g. major North American carriers): USD 10–15/day. For a 14-day trip, that’s USD 140–210 — just for data you already pay for at home.
- Throttled international plans: Some carriers offer cheaper add-ons capped at 1GB/day, then throttled to 128kbps. Fourteen days at throttled speeds means hitting edge-of-unusable by mid-afternoon on heavy navigation days.
- Premium roaming plans: USD 10–15/day, same math, same result — regardless of carrier.
The pitch from all three carriers is the same: it's "simple." You don't have to think about it. You just use your phone as normal.
What they don't say is that you're paying USD 10–15/day for a service that an eSIM replaces for under USD 18 total.
Side-by-side comparison across options makes the math clear. Standard carrier roaming for 12 days of navigation, messaging, and translation use in Japan runs USD 120–180 at typical day-pass rates.
An Airalo eSIM for the same trip runs roughly USD 9–14. The coverage is functionally identical in Tokyo — both run on NTT Docomo infrastructure. The speed difference is unmeasurable. The price difference is not.
Some carriers offer "international plans" that sound cheaper — $5/day with a monthly add-on, etc. Read the data caps carefully. Many throttle to 2G speeds after 500MB. In Japan, where you'll be navigating Google Maps through rapid-fire train transfers all day, 500MB disappears before noon.
There is one scenario where carrier roaming makes sense: if your company pays for it, or if you're on an all-inclusive business travel plan with unlimited data.
For everyone else — families, couples, solo travellers paying their own way — the carrier roaming math doesn't work in your favour. Not even close.
eSIM vs Physical SIM vs Pocket WiFi: Honest Tradeoffs
Three options exist for independent connectivity in Japan. Each option has a legitimate use case depending on trip length and device.
Here's what actually distinguishes them — not the marketing copy, but the friction points you'll encounter at 11pm in Osaka when something goes sideways.
| Option | Cost | What to Know |
|---|---|---|
| Airalo eSIM | USD 9–15 total | Setup: Before departure, 5 min. Best for Most solo travellers & couples. Limitation: Requires eSIM-compatible device |
| Sakura Mobile eSIM | USD 12–20 total | Setup: Before departure. Best for Travellers wanting a Japan-based provider with voice + data options. Limitation: Requires eSIM-compatible device |
| Physical SIM (airport/online) | USD 11–26 total | Setup: At airport or advance order. Best for Older devices, groups needing voice calls. Limitation: Replaces your home number temporarily |
| Pocket WiFi | USD 6–11/day rental | Setup: Airport pickup. Best for Groups sharing one device. Limitation: Battery management, extra item to carry, return logistics |
The pocket WiFi pitch is that multiple people can share one device. That's true, and if you're travelling with three or four people all on older phones, splitting a pocket WiFi rental cost makes sense.
The part nobody mentions: you're now responsible for a rental device's battery life. When that device dies at 4pm in Arashiyama and everyone's navigation goes offline simultaneously, you'll understand why pocket WiFi is hard to recommend for couples.
Physical SIMs from Japan (IIJmio, Docomo tourist SIM, Sakura Mobile) are genuinely good products. The friction is that you're swapping out your home SIM — meaning calls and SMS to your home number go dark for the trip duration.
For most travellers that's fine. For anyone who needs to receive two-factor authentication texts from their home bank mid-trip, it's a problem they'll discover at the worst possible moment — standing at an ATM at 8pm trying to access funds.
An eSIM sidesteps both issues. Your home number stays active on your primary SIM slot. You add a Japanese data eSIM on top. You pay once, set it up at home, and your device picks up the Japanese network the moment you land.
No counter queues. No SIM tray tools. No anxiety about losing a tiny physical card.
Airalo Japan Plans: Which One for Your Trip
Airalo is the provider most Japan travellers find delivers the best value. Not because it's perfect — it isn't, and I'll note the limitations below — but because it's reliably available before departure, installs in minutes from the app, and priced better than any airport alternative.
Current Airalo Japan plans as of March 2026 (prices in USD; verify current rates at checkout):
- 1GB / 3 days — ~USD 4.50. Works for a short city trip if you're mostly on hotel WiFi at night and not streaming anything.
- 3GB / 7 days — ~USD 8.50. The sweet spot for most 10–14 day trips.
- 5GB / 30 days — ~USD 11.50. If you're navigating constantly, streaming music, or sharing content daily.
- 10GB / 30 days — ~USD 18. For longer trips or remote work with occasional video calls.
- 20GB / 30 days — ~USD 26. Content creators uploading in the field.
For a standard 10–14 day Japan trip — Tokyo, Kyoto, Osaka, maybe a side trip to Hiroshima or Nara — the 3GB/30-day plan handles most travellers comfortably. Most travellers who aren't actively uploading video come in under 3GB per week. If you're a heavy Google Maps user who also shares in real time, get the 5GB plan. The price difference is small enough that you won't notice it. Running out of data in rural Kyushu on day eight, you absolutely will.
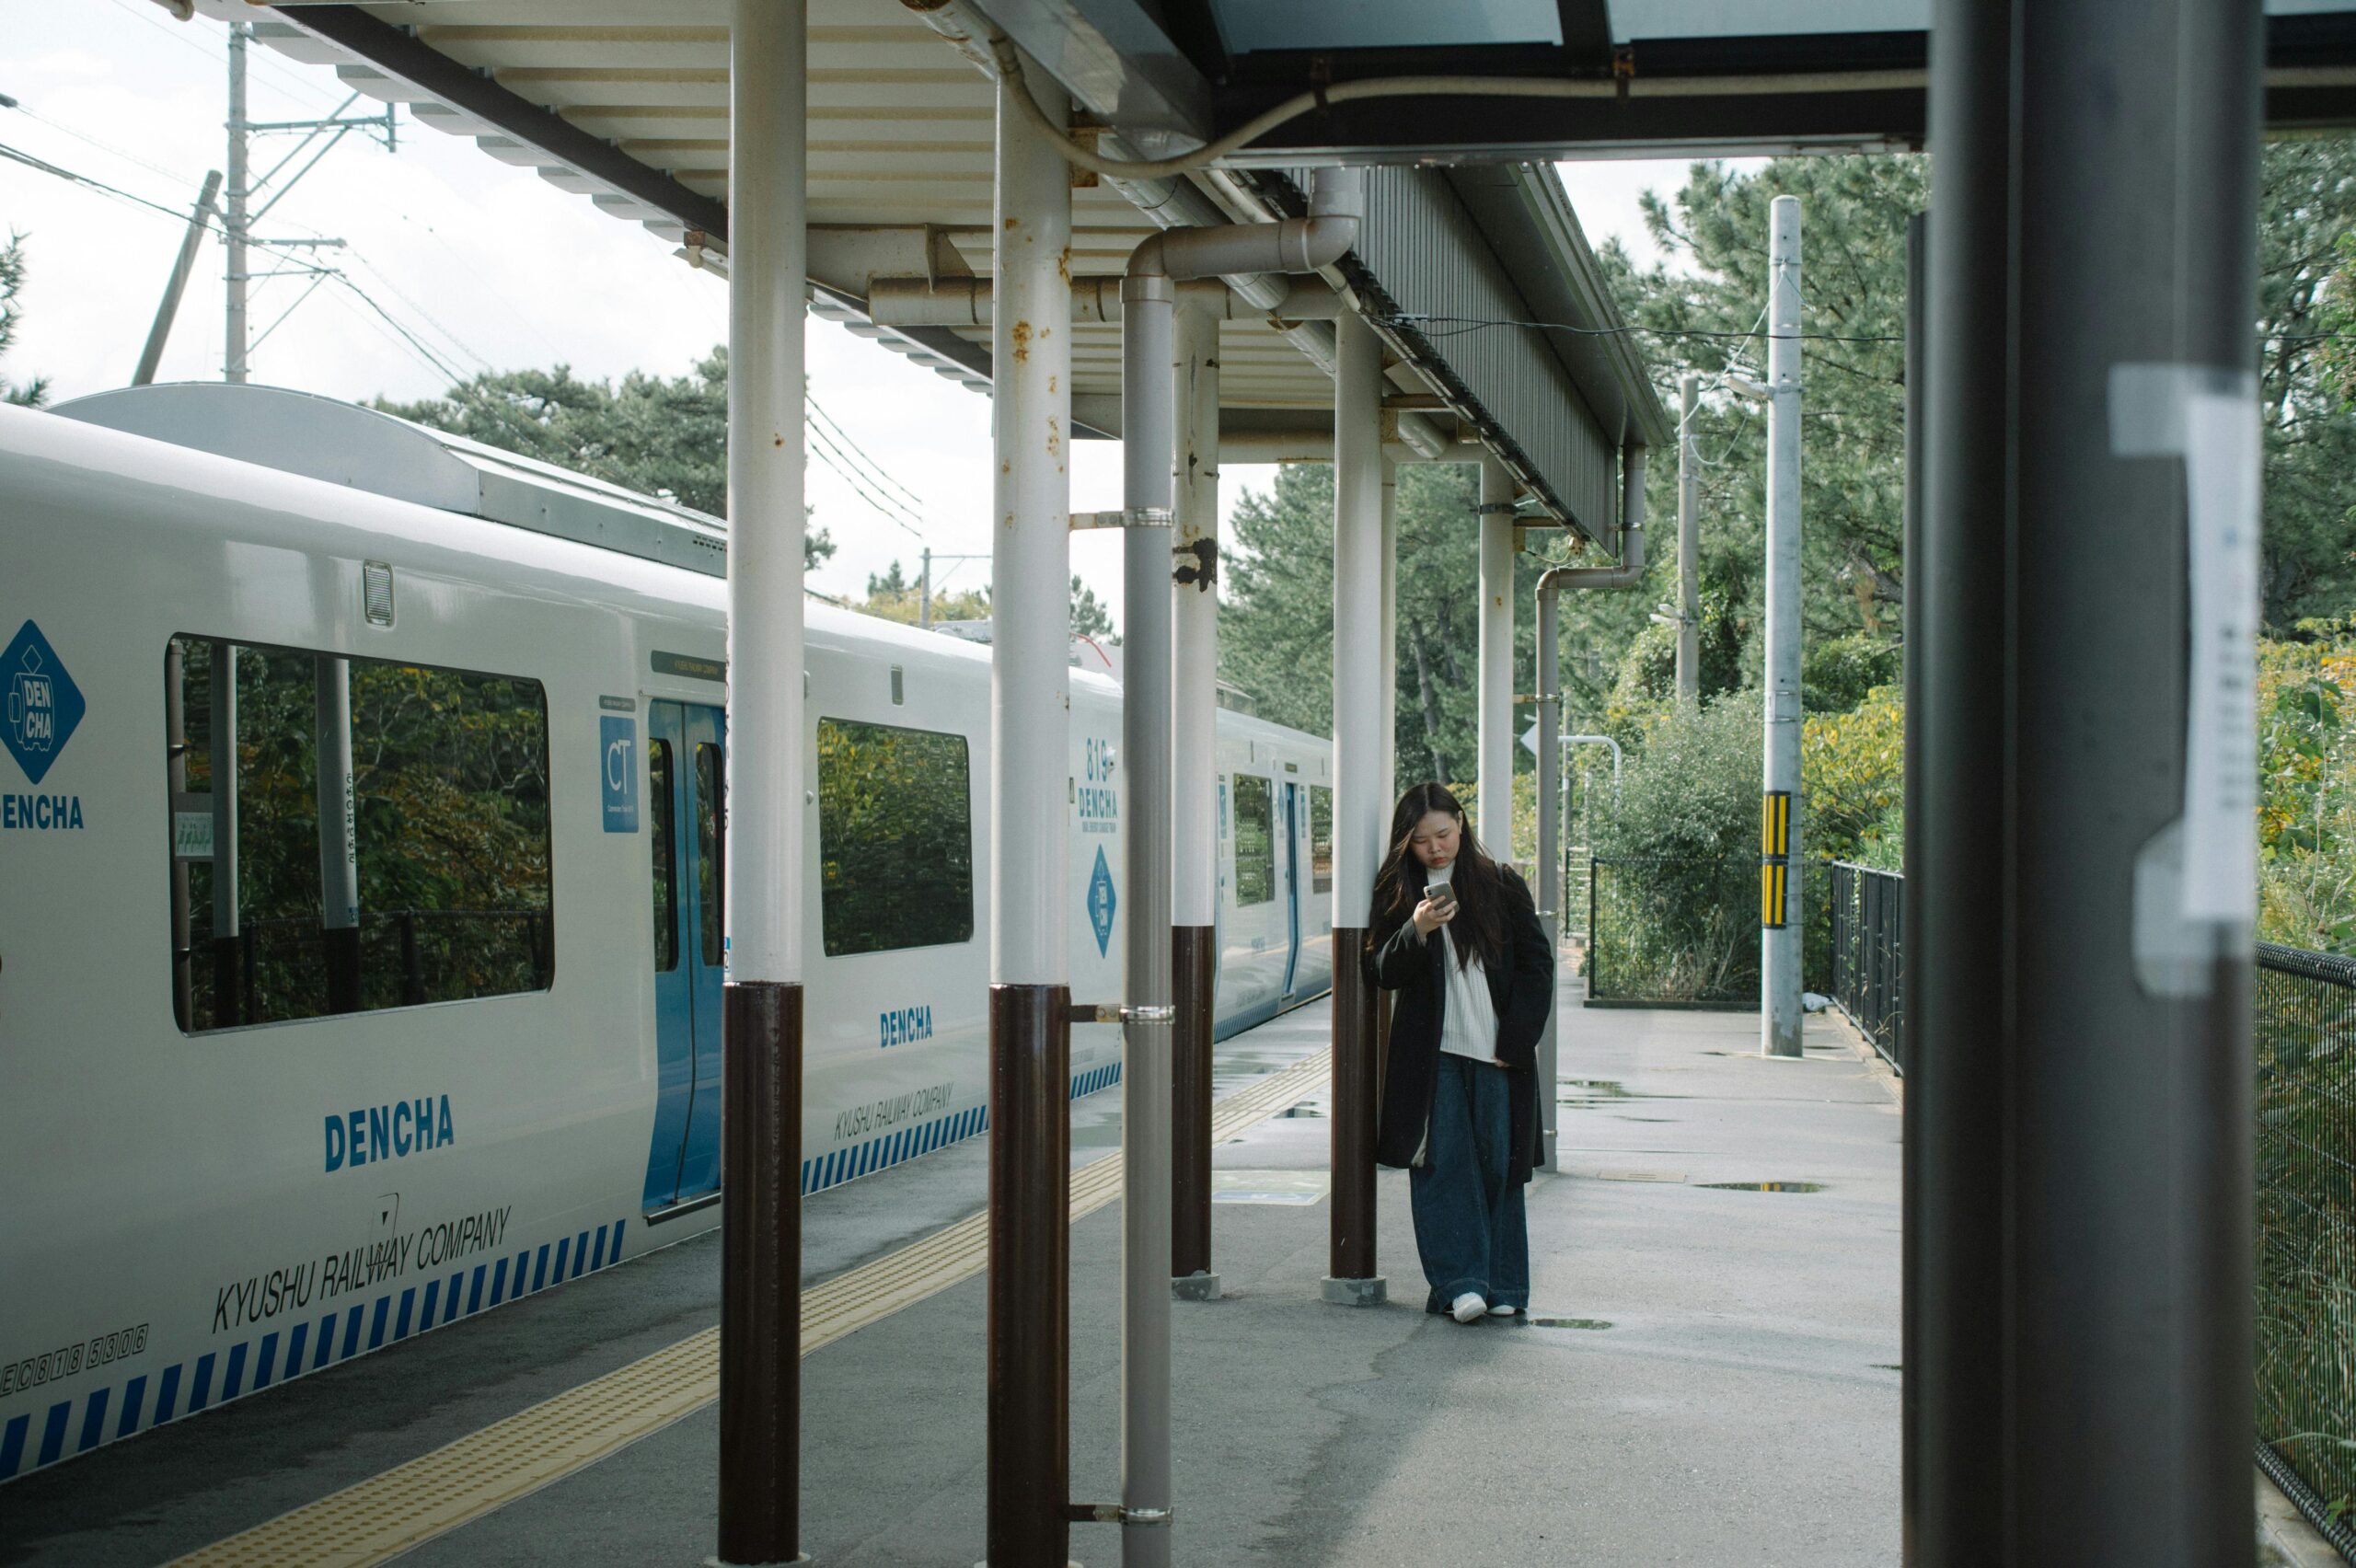
The Airalo Japan eSIM runs on the SoftBank and KDDI (au) networks – broad, reliable coverage across Japan.
In practical terms: signal in Tokyo subway tunnels (yes, Tokyo subway has cell coverage underground, which is still surprising after multiple trips), in rural convenience stores, and on the shinkansen between major cities.
What Airalo doesn't give you: a Japanese phone number (data only, no calls), and tethering is technically restricted on some plans — check the current plan terms before you buy.
For calls, most travellers use WhatsApp, FaceTime Audio, or Line — all of which work perfectly on Airalo data.
Get your Airalo Japan eSIM here — set it up before departure.
How to Set Up an Airalo eSIM Before You Depart
This is the step that intimidates people who haven't done it before. It shouldn't.
The whole process takes under 10 minutes and you do it at home, on WiFi, with no time pressure. The anxiety goes to zero once you've done it once.
On iPhone (iOS 16+)
- Create an account at airalo.com and purchase your Japan plan.
- After purchase, you'll receive a QR code by email (or view it in-app).
- Go to Settings → Cellular → Add Cellular Plan.
- Tap Use QR Code and scan the QR code Airalo provides.
- When prompted, label it "Japan Data" — keeps it separate from your home carrier line.
- Set your home carrier plan as Primary for calls/SMS. Set the Airalo eSIM as the data line.
- Toggle the Airalo eSIM to off until you land in Japan. It activates on first use in Japan, not on installation.
On Android (Samsung Galaxy S21+, Pixel 3+, most 2021+ flagships)
- Purchase your Airalo plan and access the QR code in the Airalo app or your confirmation email.
- Go to Settings → Connections → SIM Card Manager → Add Mobile Plan.
- On Pixel devices: Settings → Network & Internet → SIMs → Add SIM.
- Scan the Airalo QR code.
- Name the eSIM and set preferred use (data only is appropriate).
- Keep your primary home SIM active for calls and SMS.
Set up your eSIM at home, on WiFi, before you pack. Airalo activates on first use in Japan — but you want to confirm the installation succeeded while you still have time to troubleshoot. Standing in the Narita arrivals hall trying to scan a QR code with 200 other deplaning passengers is not the moment to discover your device has an eSIM compatibility issue.
One thing to check before purchasing: your device must be carrier-unlocked to install a third-party eSIM. Most phones purchased outright are unlocked. Phones purchased on contract and not yet unlocked will reject the eSIM installation.
If you're not sure of your unlock status, contact your carrier before you buy — unlocking is typically free and takes a few days to process.
What If You're Not on an eSIM-Compatible Device
If you're carrying a phone from 2019 or earlier, or certain budget Android models from any year, eSIM may not be an option. Here's what actually works for non-eSIM devices:
Order a Japan Tourist SIM Before Departure
IIJmio, Sakura Mobile, and Mobal all ship physical Japan data SIMs internationally before departure. Order at least two weeks before departure to allow for international shipping.
Plans run USD 11–22 for 10–30 days of data. You’ll swap your home SIM at Narita or Haneda, keep your home SIM safely in your hotel safe, and use the Japan SIM for the trip duration.
Buy at the Airport
Narita and Haneda both have multiple SIM vendors in the arrivals hall — IIJmio, SoftBank, Docomo. Expect to pay USD 18–30 for a tourist data SIM.
Staff speak English, the process takes 15 minutes, and you'll walk out connected. The price premium over ordering in advance is real but not catastrophic — worth it if you forgot to plan ahead.
Pocket WiFi at the Airport
Available at Narita and Haneda arrivals from providers like Wifi Rental Japan and eConnect Japan. Expect USD 6–9 per day for rental, plus a return shipping fee or counter drop-off on departure.
Works fine for groups. Carry the charger. Keep the device charged before any long day trip where you'll be away from power.
Connectivity in Rural Japan: The Honest Truth
Japan has exceptionally good mobile infrastructure for a country its size. But "exceptionally good" isn't the same as "everywhere."
The way to think about connectivity in rural Japan: you're fine in towns, you're probably fine on major roads, and you need a plan for anywhere else.
Where You'll Have No Problems
- All JR shinkansen corridors (Tokyo–Osaka–Hiroshima–Fukuoka): strong signal throughout, including in most tunnels.
- Major cities — Tokyo, Osaka, Kyoto, Hiroshima, Sapporo, Fukuoka: city coverage is thorough, including subway systems.
- Tourist-facing rural areas — Nikko, Hakone, Nara, Miyajima, Kurashiki all have solid coverage, maintained specifically because visitors need maps there.
- Major onsen towns — Kinosaki, Beppu, Noboribetsu: covered.
- Highway rest stops and konbini — convenience stores in Japan almost universally have WiFi, and you're rarely more than an hour from one even in rural areas.
Where to Download Offline Maps First
- Shirakawa-go and Gokayama — the UNESCO villages themselves are covered, but mountain passes between them have dead zones.
- Kumano Kodo trail sections — ancient pilgrimage routes through dense cedar forest. Some sections have signal. Some don't. Download offline Komoot or Gaia GPS maps before you start walking.
- Yakushima — coastal towns have coverage. The interior forest around Jomon Sugi does not. Plan accordingly and tell someone your route.
- Remote Tohoku onsen towns — places like Nyuto Onsen (Tsurunoyu) are deliberately remote. Half the appeal is being unreachable. Don't expect connectivity.
- Local train lines through mountains — the shinkansen has signal; single-track local lines through mountain terrain often don't for stretches.
The practical rule I use: before any day trip outside a major city, open Google Maps, download the offline map for that region, and screenshot my key addresses in Japanese characters.
The offline maps navigate perfectly. What they won't give you is real-time train delay updates or a translation of the handwritten menu at a rural izakaya — for those, you need live signal.
One thing that consistently surprises first-time Japan visitors: 7-Eleven, FamilyMart, and Lawson convenience stores all offer free WiFi. In Japan, they're genuinely everywhere — urban, suburban, semi-rural.
If you run low on data or lose signal, finding a konbini and downloading what you need takes five minutes.
Planning Sequence: Connectivity and Beyond
Connectivity is step one of Japan trip logistics, not step five. Get this locked in first, then build everything else around it. Here's how I sequence the pre-departure checklist:
→ [1] Get your Japan eSIM before departure: Airalo Japan plans · Sakura Mobile eSIM
→ [2] Travel insurance before anything else: Travel insurance through Sacraw
A few notes on timing that matter:
- eSIM: Buy any time, but install and test at least 48 hours before departure. If there's a device compatibility issue, you want to know early enough to pivot to a physical SIM order.
- Travel insurance: Buy before your first non-refundable payment — usually flights. The travel insurance you can compare and buy at sacraw.com covers trip cancellation, emergency medical, and evacuation. Japan has world-class hospitals; you want coverage that lets you use them without a six-figure bill following you home.
- Activities: Tokyo teamLab venues, the Ghibli Museum, popular cooking classes, and good ryokan with kaiseki dinners book weeks or months ahead.
The logistics of Japan aren't complicated once you've done the first trip. The eSIM is the piece that unlocks everything else — because when you land with a working data connection, you're not dependent on airport WiFi or paper maps.
You step off the Narita Express at Tokyo Station with navigation running, your hotel address queued, and your afternoon plan already in motion. That's the difference between arriving and landing ready.